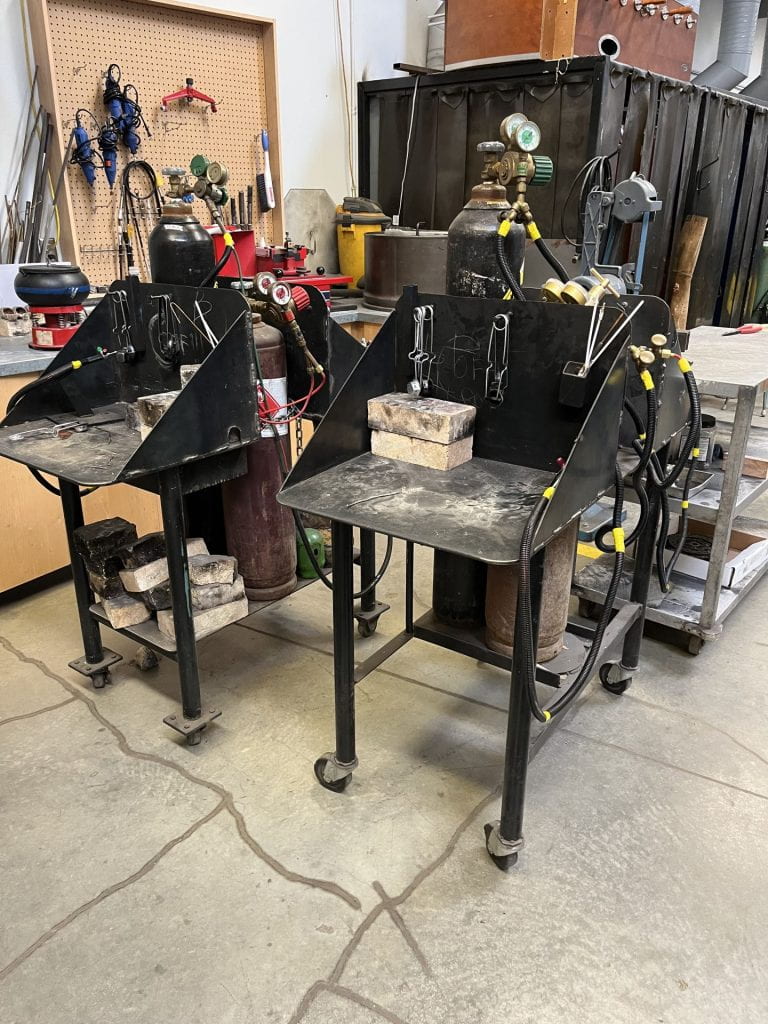
In metal art and jewelry 12 I have started on my first project, making a metal rose. I started out by cutting the three rose parts out of paper and then tracing them out onto a piece of metal. I then cut the pieces out with aviation snips and sanded the edges with sandpaper which was a little tedious. After Mr. Peterson showed us how to use the jewelers torches I used them to add colour to my rose with heat. I had a few struggles with turning the torch off, there was always a small flame even as I had turned off the gas. I learned it could be fixed easily by just tapping the torch tip on the table to expel the extra dirt and material stuck in there which caused the little flame. After that step I punched holes in the center of the three rose parts but I accidentally punched one of the holes in a different sized punch so it is much larger than the other two holes. I asked Mr. Peterson for help to fix this and he showed me a way to make a thicker stem for my rose by twirling thinner metal sticks together with a drill. Now my rose will look cooler than those with a basic stem. I will learn more as I continue to work on my rose project and probably encounter similar issues later in the course where I can use my learning to overcome them.


