
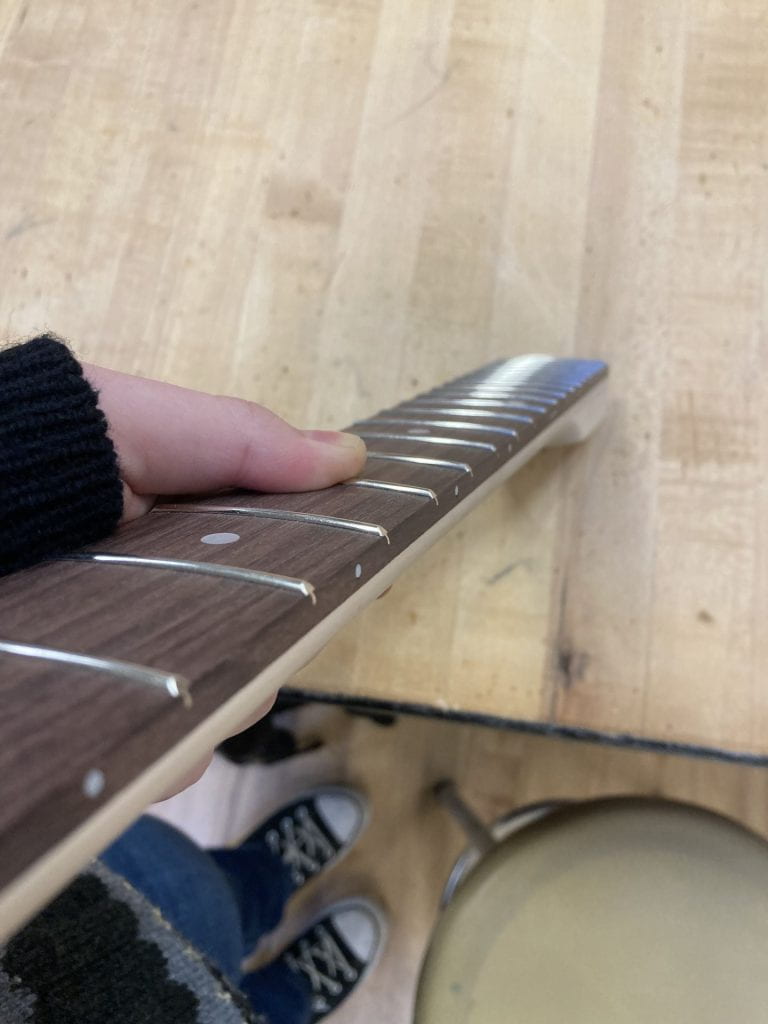
I was challenged by pressing my fret wire into the fretboard slots, making sure each wire piece was flush with each other. This procedure itself isn’t complicated at all in theory, but I had to go over it twice because I hadn’t done it right the first time. Basically, you have to use the drill press to press down the fret wire, using a specific curved bit so that the curve of the wire remains intact. The first time through, I didn’t press the wire in deep enough. I know this because once we press, we have to use a tool, almost like a square, called a fret kisser, to check for any rocking on the fret wire along the fretboard. Mine rocked almost everywhere along my neck! To solve this problem, I went back to the drill press, and made sure the bit aligned perfectly with the fret wire, so that the pressing would be even on both sides. I had a friend help me hold my neck in place, since you can’t really clamp it. This allowed me to be able to use more force while pressing because I could use both my hands.
What I learned from this, is that while you’re on this step, have the fret kisser with you so that you can check for rocking as you go, this will save you more time in the end. Also, make sure the bit is centered because it’s really frustrating when one side is level but the other isn’t, because you have to go back and try to press only one side down further. Lastly, use a good amount of force, you don’t want to see any space between the fret wire and fretboard. That’s how you know you’ve done it right.
If I were to do this again, I would keep this information I learned in the back of my mind, and it would allow me to finish this step a lot quicker and more efficiently.