
- Go to https://www.pdfescape.com/windows/. We will be using the free online version today. I recommend making an account if you’d like to edit any fillable documents that you’ve already created.

2. Upload your PDF file

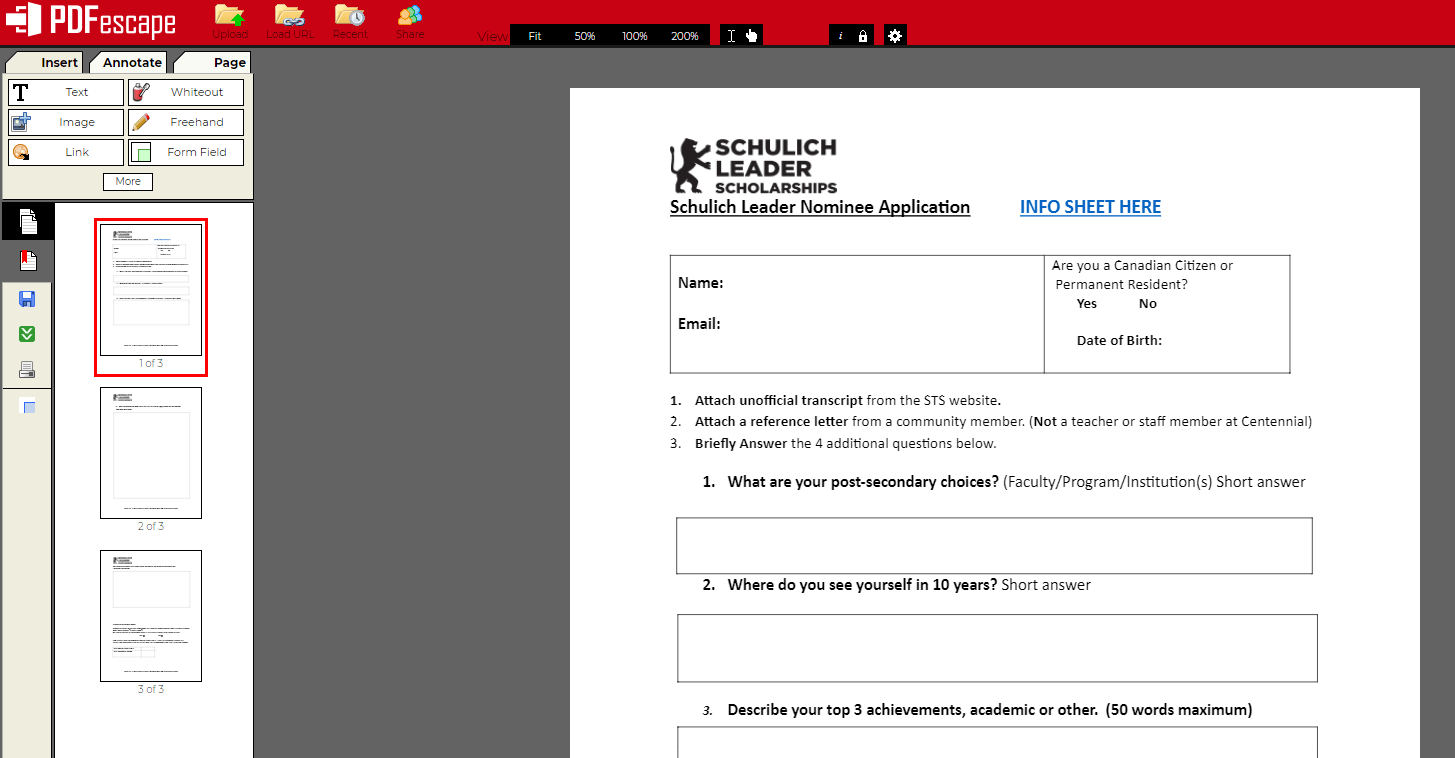
3. Once you’ve uploaded your file (I will be using a PDF file I was given earlier this year), it should look like this:
Creating Form Fields

There are a variety of different form fields you can choose from

TEXT: Ideal to use for short written fields such as “Name: “, “Age: “, “Email: “. Basically anywhere you only need to use one line for!
Click and drag on the page to insert new object

At the top, you will be able to see the font and size options. This is how the text that the user puts in will show up. I usually higher the font size to 15-17 depending on the text around it.

You can test out the text options by typing in the form field you just created

Right-click on a form field to find “Object Properties”. There will be more options.

TEXT PARAGRAPH: Self-explanatory title! Used for larger, multi-lined, form fields. Using the same steps we did for the TEXT tool we can get…

CHECKBOX: Also self-explanatory! Anywhere you’d like a checkbox, slap it on there. If you go to its object properties, you can customize the check type to different icons (such as stars!)

Those are the only tools I’ve had to use when converting documents into fillable PDFs, however, there are more options such as dropdown and listbox (where the user can choose an option from several choices). You can edit the options/choices in the Object Properties.
WHEN YOU’RE FINISHED
The blue save icon is… well… the saving button, and the green button below it lets you download your beautiful creation 🙂

Recent Comments